01Check the transparency first
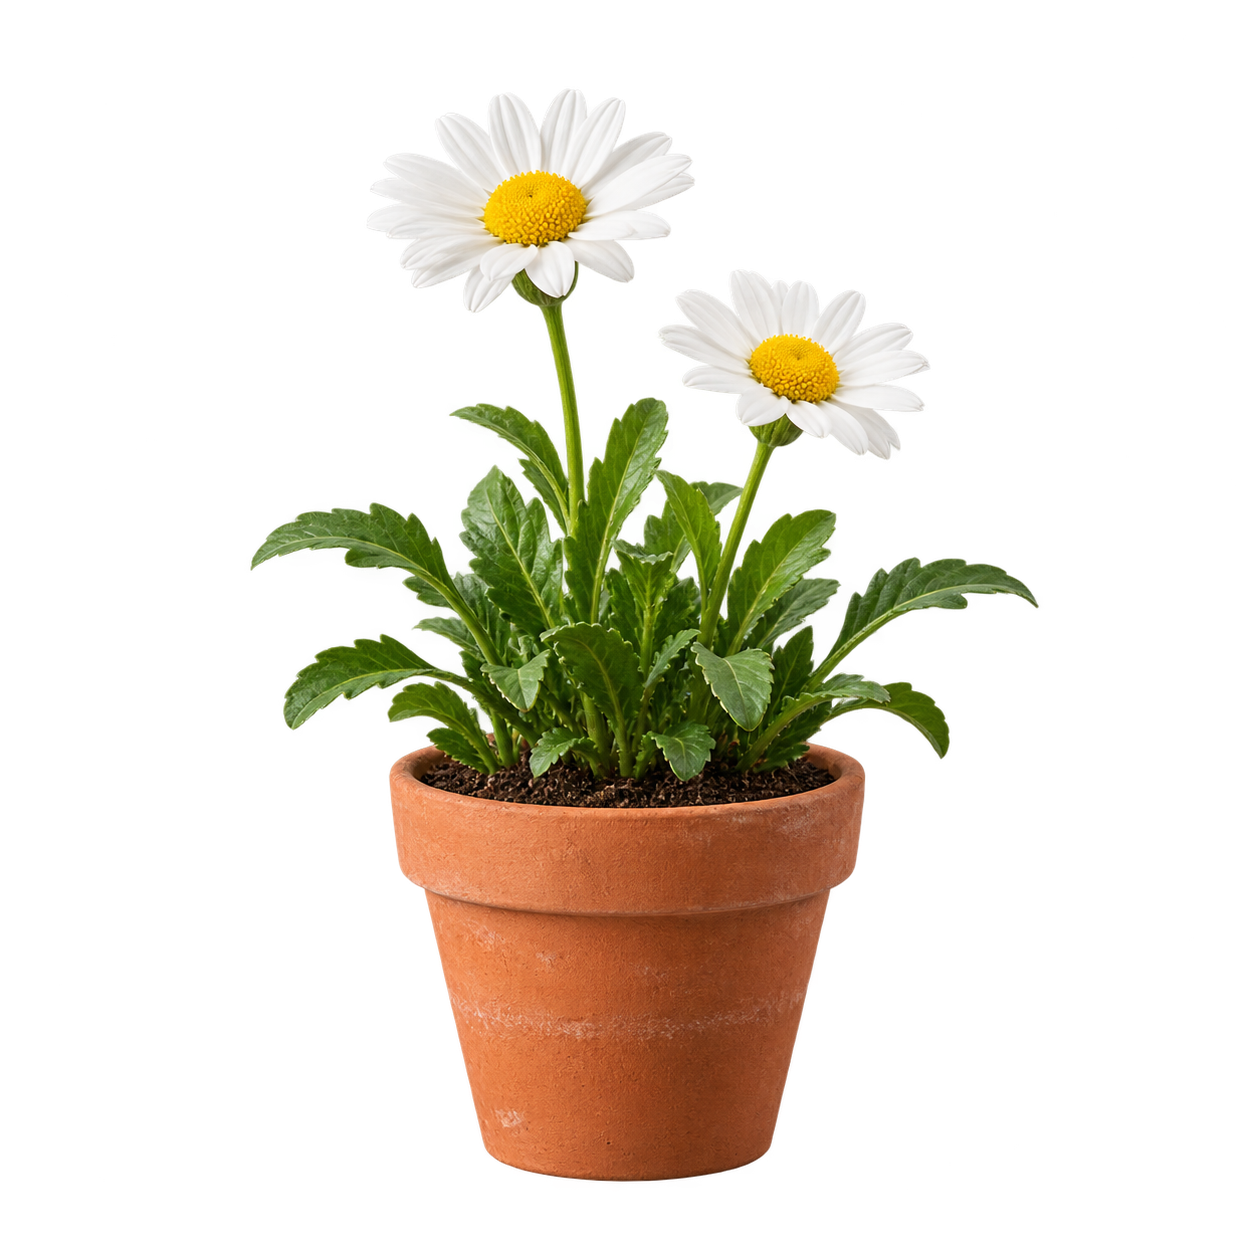
A PNG filename alone does not mean the background is transparent. Open Add Outline to PNG and try the plant cutout, or upload a PNG with an alpha channel. A checkerboard in the editor indicates transparency. If every pixel is opaque, the tool warns you that the border follows the image rectangle. This tool does not remove backgrounds.
02Choose a border that fits
Choose a stroke color that contrasts with the cutout. Start with a modest Width, then increase it until the subject reads clearly at the size you will use. The tool expands around the existing silhouette, including separate visible elements. Very small details and narrow gaps can merge when the stroke becomes thick.
03Leave room around the edges
Padding expands the canvas so the outer border is not clipped. It cannot be reduced below the stroke width. Turn on Outline only to remove the original artwork from the result and keep the surrounding border. Compare both versions before exporting; a border alone can look different from line art drawn inside a photograph.
04Keep the background transparent
Choose Transparent in the PNG download settings when the result needs to sit on another background. A white background instead creates a flattened image. PDF is always placed on a white page and is useful for printing, while PNG preserves transparency. Open the saved file in your target design app to check the border at its intended size.