01Choose the right photograph
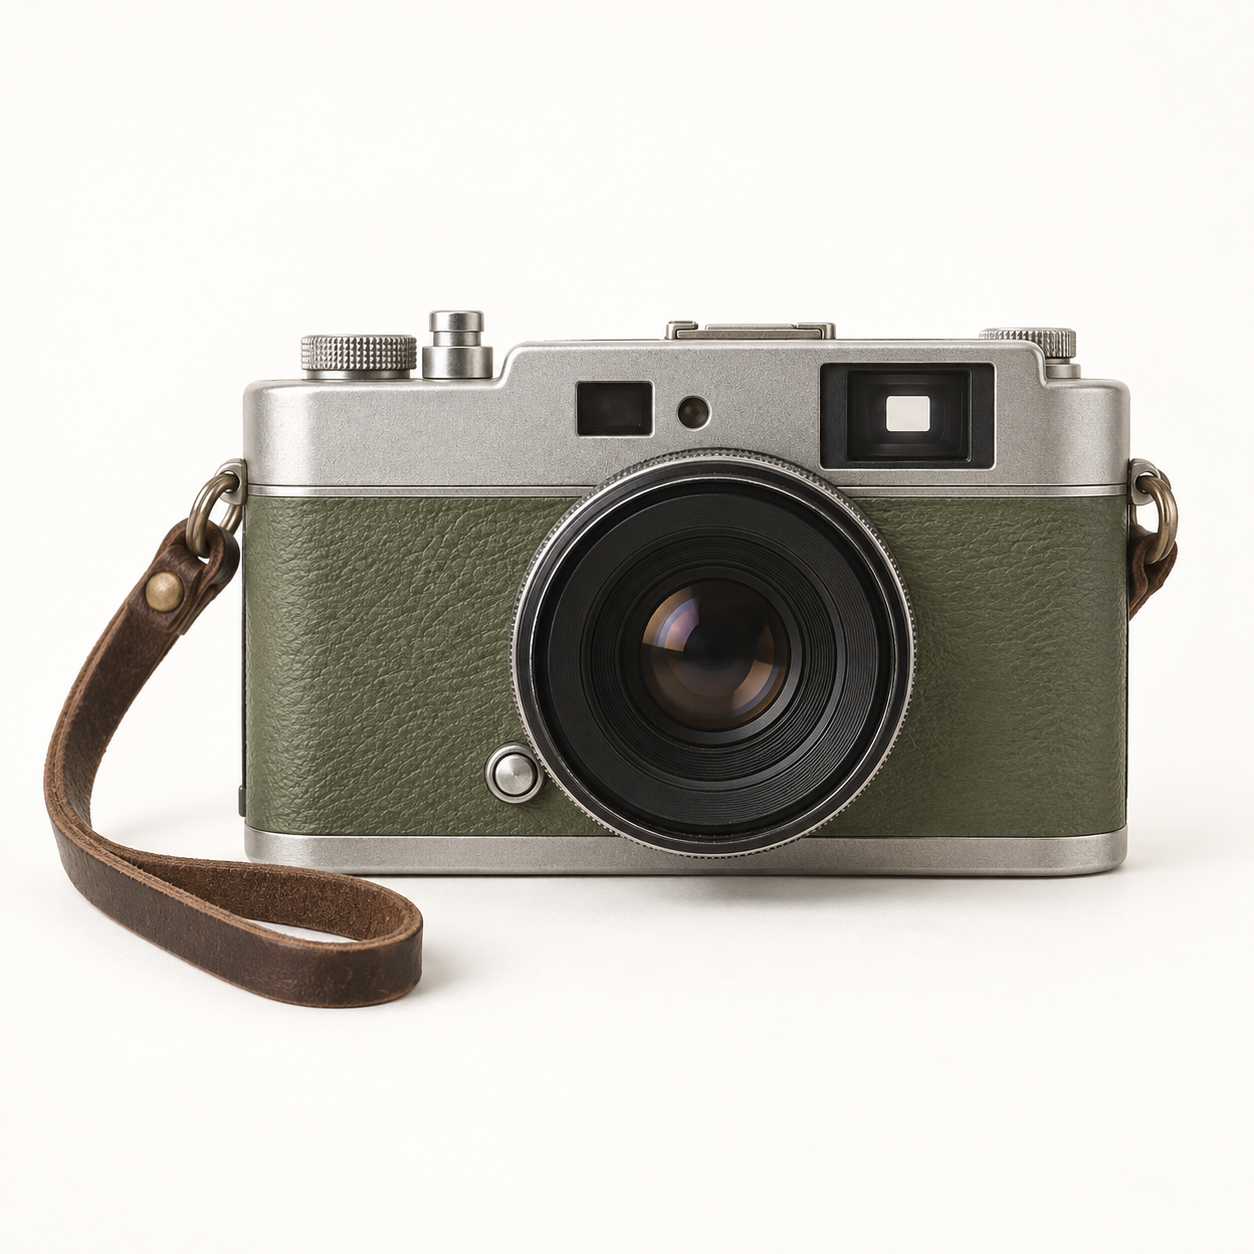
Look for a subject separated from its background. A dark subject against a dark wall is harder to trace than one against a light, uncluttered surface. Avoid strong motion blur. For a face, use even lighting and enough resolution to distinguish eyes, hair, and the outer silhouette. You can try the Portrait Outline tool with our reference first.
02Build the main contours
Start with a thin line weight and moderate Detail. Lower Detail if fabric texture or foliage overwhelms the main shape. Increase it only until the key contours appear. Smoothness reduces small variations; Noise cleanup helps remove isolated marks. These controls detect and refine raster edges, rather than reconstructing hidden parts of a subject.
03Clean up small distractions
Compare the result with the original. Crop away unnecessary surroundings, then use Erase on remaining background lines. Choose a small brush near eyes or other fine details, and a larger brush in empty areas. Use Restore if you remove a useful line. Cropping or rotating after manual cleanup asks you to confirm because existing brush marks no longer line up.
04Choose an output for the next step
Use transparent PNG for placing line art over a colored background or in a layout. White PNG is convenient for sharing and ordinary printing. PDF fits the outline onto one page without changing its proportions. These exports contain raster line art, not editable SVG paths.